Notifications are great way to keep users engaged to your app, while remote notifications are the wide range and the most operated types of notifications, local notifications are also very handy to keep users updated.
In this quick post, you will learn how to schedule and trigger a local notification in a SwiftUI project.
Once you create a new SwiftUI project, open ContentView.swift and make the following changes to the code:
private let notificationCenter = UNUserNotificationCenter.current()

var body: some View {
    VStack {
        Button("Show a local notification") {
            Task {
                await showNotification()
            }
        }
    }.onAppear {
        Task {
            await requestNotificationPermission()
        }
    }
}
The simple screen will have one button, the defined notificationCenter property will be used to request user authorization to deliver push notifications. This request for push notifications authorization will be performed as soon as the first element renders on the screen.
Next, implement the requestNotificationPermission method:
private func requestNotificationPermission() async {
    do {
        try await notificationCenter.requestAuthorization(options: [.alert, .sound])
    } catch {
        print("Error requesting authorization: \(error)")
    }
}
In the code above, the app requests authorization to display alert notifications with a sound. As the requestAuthorization API is asynchronous, the method is suffixed with async. Learn more about async/await in my previous article here.
Next, add the method that will handle the scheduling of our local notifications:
private func showNotification() async {
let settings = await notificationCenter.notificationSettings()
switch settings.authorizationStatus {
case .authorized, .provisional, .ephemeral:
let content = UNMutableNotificationContent()
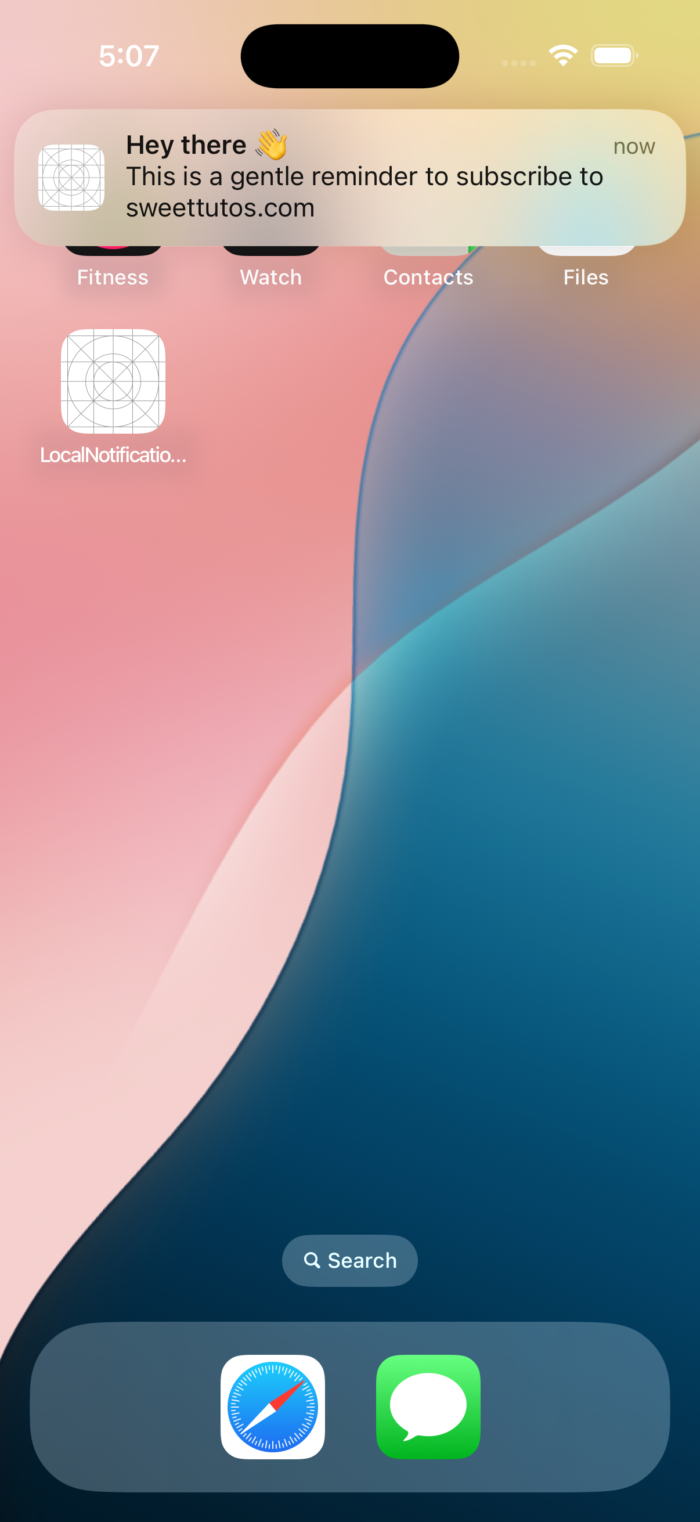
content.title = "Hey there 👋"
content.body = "This is a gentle reminder to subscribe to sweettutos.com"
content.sound = .default
let trigger = UNTimeIntervalNotificationTrigger(timeInterval: 5, repeats: false)
let uuidString = UUID().uuidString
let request = UNNotificationRequest(identifier: uuidString, content: content, trigger: trigger)
do {
try await notificationCenter.add(request)
} catch {
print("Error scheduling notification: \(error)")
}
default:
break
}
}
The code above will prepare and schedule a local notification that would be shown with a delay of 5 seconds. Feel free to tweak the notification content properties to fit your taste 🙂
At this point, you can run the app, after you click on the button hit the home button on your device to move the app to the background, the notification should be shown after 5 seconds.
Show the local notification when the app is in the foreground
In order to allow the app to show local notifications when it is in the foreground, we need to make some tweaks to conform to the UNUserNotificationCenterDelegate protocol.
Select LocalNotificationsApp.swift file and make the following changes:
struct LocalNotificationsApp: App {
    @UIApplicationDelegateAdaptor(AppDelegate.self) var appDelegate
    // ….
}

class AppDelegate: NSObject, UIApplicationDelegate, UNUserNotificationCenterDelegate {
    func application(_ application: UIApplication, didFinishLaunchingWithOptions launchOptions: [UIApplication.LaunchOptionsKey: Any]?) -> Bool {
        UNUserNotificationCenter.current().delegate = self
        return true
    }

    // Handle notifications while the app is in the foreground
    func userNotificationCenter(_ center: UNUserNotificationCenter,
                                 willPresent notification: UNNotification,
                                 withCompletionHandler completionHandler: @escaping (UNNotificationPresentationOptions) -> Void) {
        completionHandler([.banner, .sound])
    }
}
By leveraging the @UIApplicationDelegateAdaptor property wrapper, we inform SwiftUI which class will behave as our app delegate. SwiftUI then creates and manages the delegate instance for us, and sends it any relevant delegate callbacks. The userNotificationCenter:willPresentNotification:withCompletionHandler is then implemented to be called on the delegate when the application is in the foreground in order to tell the system that the notification needs to be presented.
That’s, run the app and enjoy your local notifications 🙂

Thanks for reading – see you in the next digest!
References: https://developer.apple.com/documentation/usernotifications/scheduling-a-notification-locally-from-your-app
https://developer.apple.com/documentation/usernotifications/unnotificationrequest
Discover more from SweetTutos
Subscribe to get the latest posts sent to your email.