Update June 2020: Fully updated for Xcode 11 and Swift 5.1.
You surely noticed this in several apps already; A sticky view that stay at the top while you scroll down the screen. The “App Store” is one of the apps that uses this technique whenever you are visualising an app details.
So how to do this? Is it complicated?
In this tutorial, I gonna show you how to implement such feature for your app.
Without further ado, let’s do it 🙂
Open up Xcode 8, select “File\New\Project” from the menu, choose the ‘Single View Application’ template and name the project ‘StickyView’, then save it.
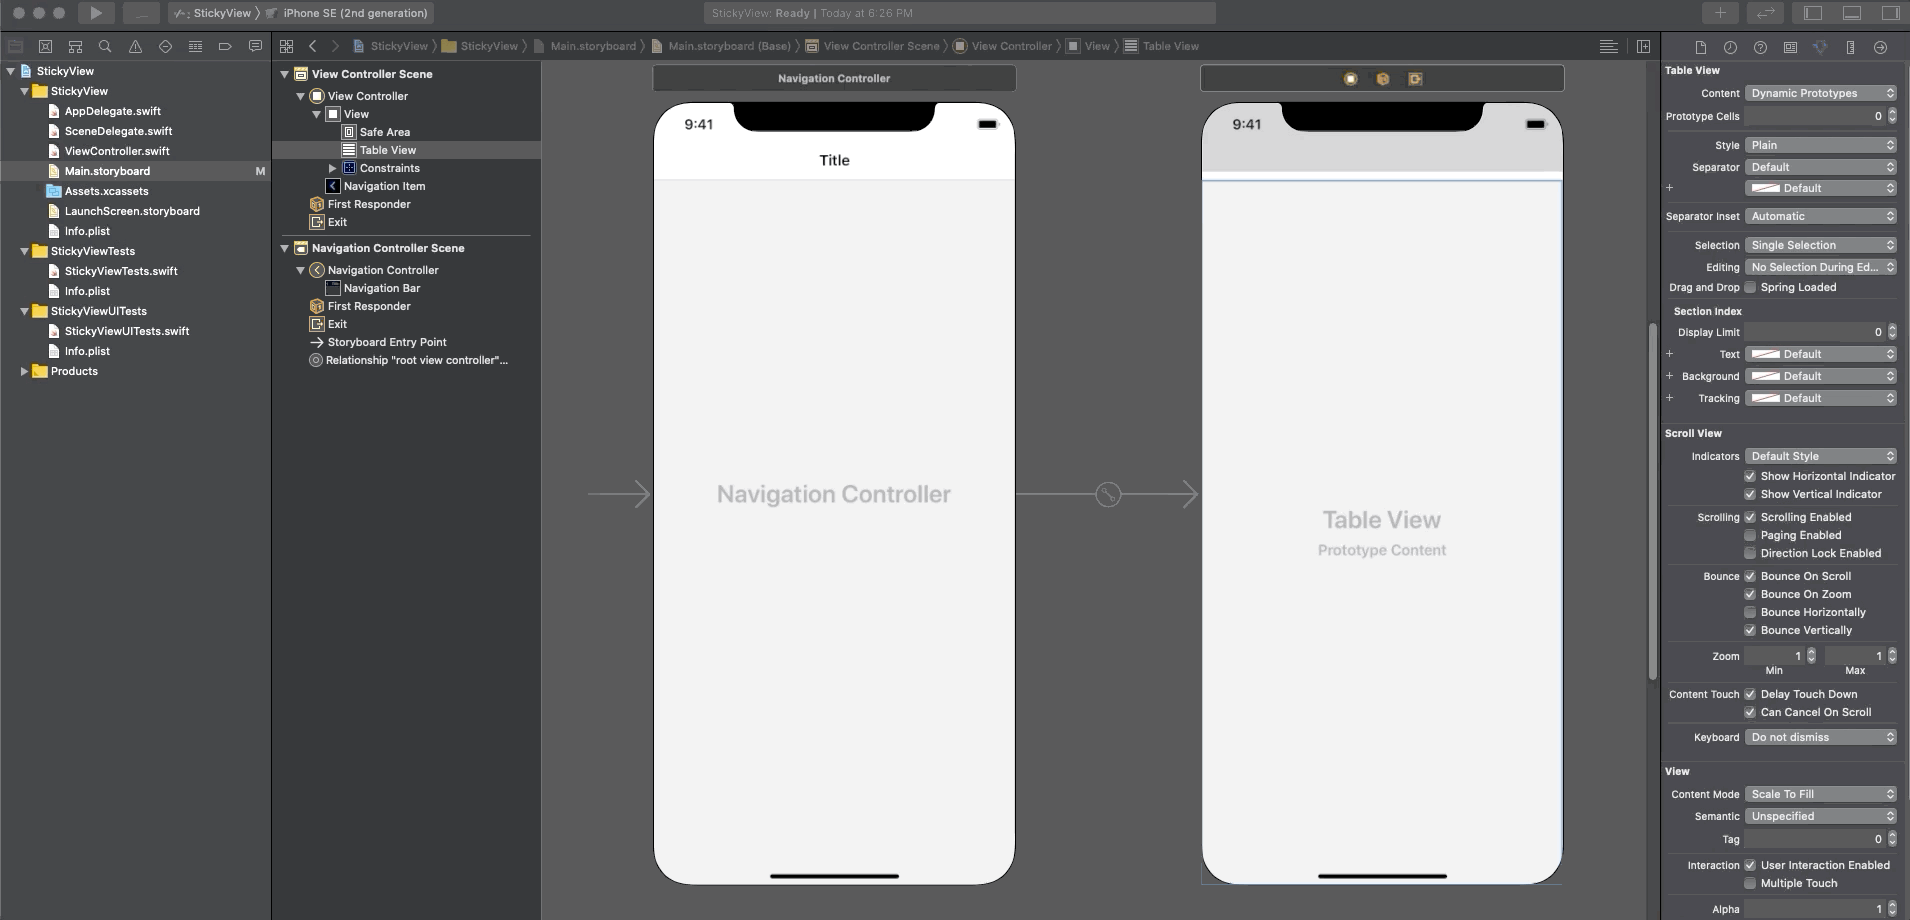
Select Main.storyboard from the Project navigator view and make sure the device you are working with is the iPhone 6s, the same as mine. This is a preference choice and has nothing to do with the project results, at the end, you will produce a screen that fits all screen sizes.
Let’s start by adding a navigation bar to the view, the easiest way to do this is by embedding the View Controller inside a UINavigationController. Select the View Controller from the storyboard then select ‘Editor\Embed In\Navigation Controller’ from the menu.

Next, drag a UITableView object from the Object Library to the View Controller screen. Place it below the navigation bar and set its leading, trailing, top and bottom constraints to 0 from the Pin tool.
Drag a custom UITableViewCell from the Object Library to the table view and set its identifier to “CellID” from the Attributes inspector view.
Before we go coding, let’s hook up the table view to the code. Switch to the Assistant Editor view and ctrl drag a line from the table view to the View Controller code. Name the Outlet “tableView” and hit the “Connect” button.
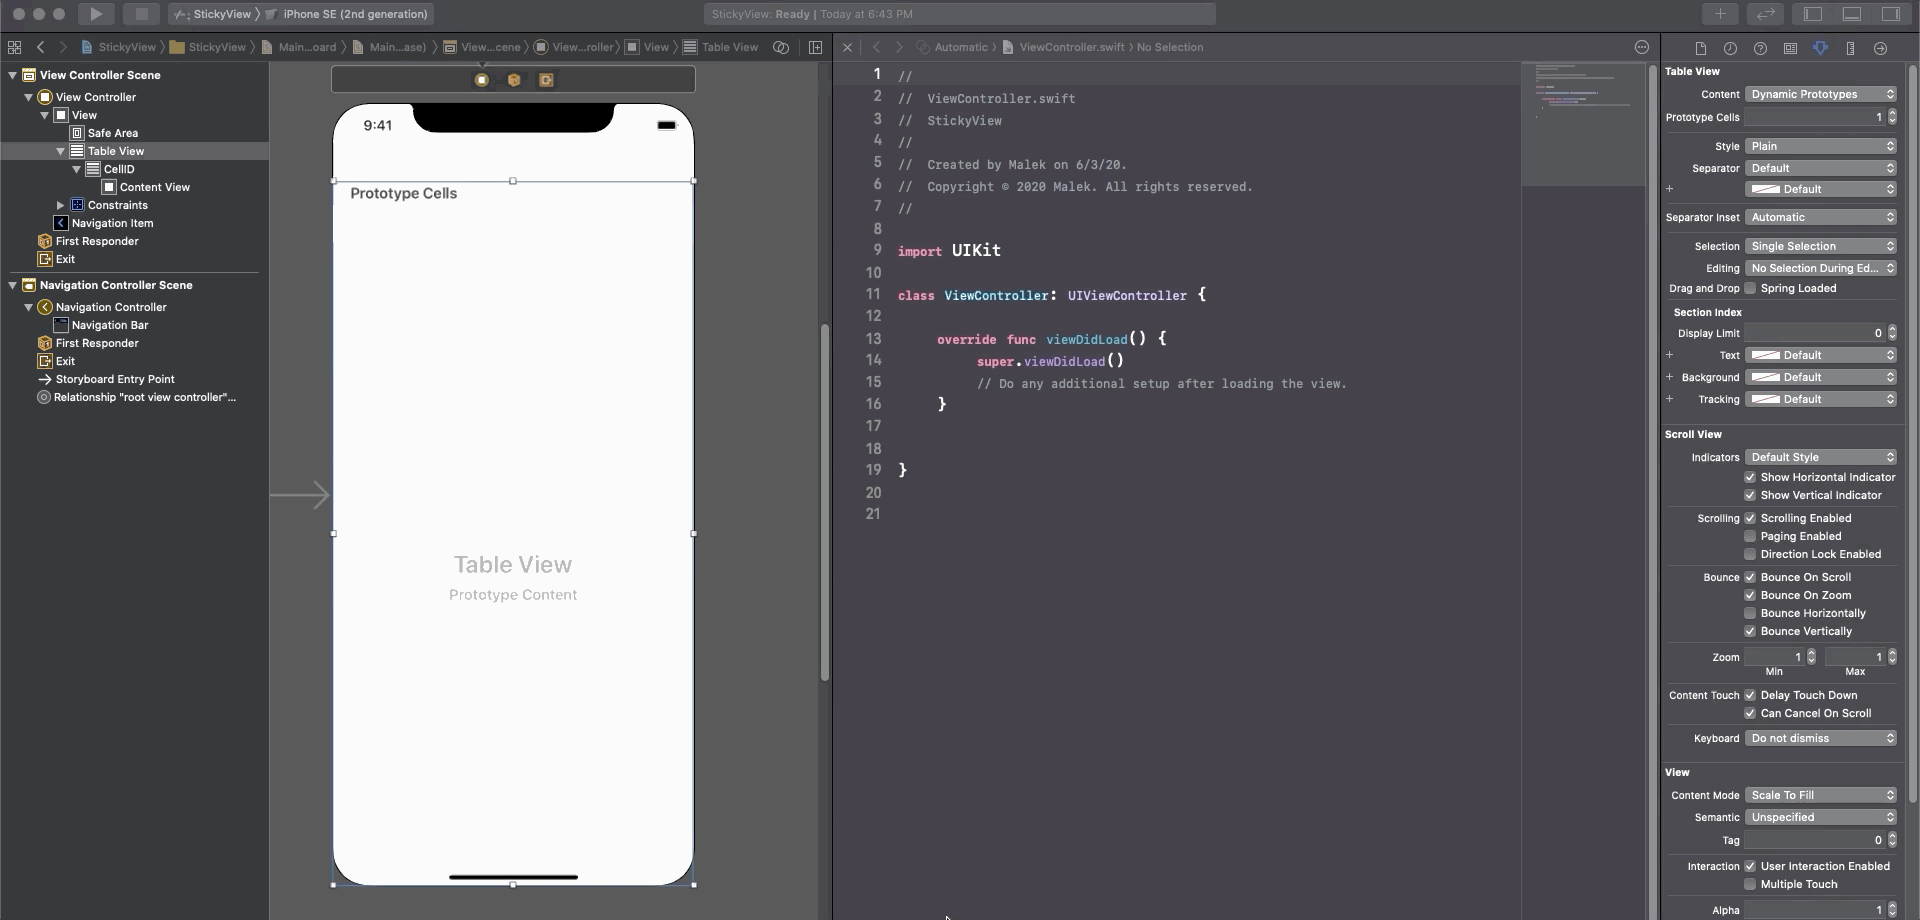
Nice, select the ViewController.swift file from the Project navigator view and make the following changes to the class declaration:
class ViewController: UIViewController, UITableViewDataSource, UITableViewDelegate {
Locate the viewDidLoad method and set the table view data source and delegate to the current view controller, disable scroll view insets then set a default UIView as the table view header:
tableView.dataSource = self
tableView.delegate = self
self.tableView.automaticallyAdjustsScrollIndicatorInsets = false
// Set a header for the table view
let header = UIView(frame: CGRect(x: 0, y: 0, width:tableView.frame.width,                                    height: 100))
header.backgroundColor = .red
tableView.tableHeaderView = header
Next, let’s fill in some cells for the table view. Place the following code before the class closing bracket:
func tableView(_ tableView: UITableView, numberOfRowsInSection section: Int) -> Int {
    return 100
}
func tableView(_ tableView: UITableView, cellForRowAt indexPath: IndexPath) -> UITableViewCell {
    let cell: UITableViewCell! = tableView.dequeueReusableCell(withIdentifier: "CellID")
    cell.textLabel?.text = "\(indexPath.row)"
    return cell
}
So far, you can build and run the project to make sure everything went correctly.
Let’s add the sticky view to finish up with your project 🙂
Implement the following table view delegate protocol method before the end of the class:
func tableView(_ tableView: UITableView, viewForHeaderInSection section: Int) -> UIView? {
     let v = UIView()
     v.backgroundColor = .white
     let segmentedControl = UISegmentedControl(frame: CGRect(x: 10, y: 5, width: tableView.frame.width - 20, height: 30))
     segmentedControl.insertSegment(withTitle: "One", at: 0, animated: false)
     segmentedControl.insertSegment(withTitle: "Two", at: 1, animated: false)
     segmentedControl.insertSegment(withTitle: "Three", at: 2, animated: false)
     v.addSubview(segmentedControl)
     return v
}
Yes, as you notice, the sticky view is basically a header for a section in the table view. As the section header gets a fixed position while scrolling down the table, we took advantage of this to produce a similar technique that gets used in so many apps. Of course, here you used a segmented control as the sticky view, however you are free to use any kind of other UIView subclasses instead.
That’s it, run the project and enjoy your sticky view 🙂
As usual, download the complete project source code here.
Comments, feedback, feel free to leave below. I’d love to hear your thoughts!
This is great! However, a question:
How can I switch table views using the segmented control (without reloading the table)? The approach i’ve usually seen is to embed the table views inside a view, then let the segmented controll change the opacity of the views. I can’t see how this would work when applied to what you’ve done.
Many thanks!
Hi, Just compiled your project and it is not working. The red view is not sticky, it scrolls down. Can you please check?
Hi Eben 🙂
The red view is not meant to remain sticky. Only the segmented part is sticky when you scroll down the table view. I just re-downloaded the project and ran again, it’s working like a charm!
My fault. I didn’t paid attention to the segmented view
Hi Malek,
Upto here it is working fine for me, but the problem is how can i handle selected segmented index.
// Height for header not included. So add below code.
func tableView(_ tableView: UITableView, heightForHeaderInSection section: Int) -> CGFloat {
return 40
}